November 21, 2022 by Manan Gupta
Installing & Using ROS Melodic on BrainyPi
This blog is mainly going to focus on answering your questions like ‘What is BrainyPi?’, ‘What is ROS?’ and ‘How to install ROS on BrainyPi?’. After going through the steps of installing Ubuntu 18.04 and ROS Melodic on BrainyPi, we’ll also go over the steps of creating a basic ROS package and ROS Nodes to test out our installation.
What is BrainyPi?
BrainyPi is a single chip computer inspired by Raspberry-pi made by IoTIoT, an Indian startup. The BrainyPi is currently(when this blog was written) in the development stage. Its motive is to provide an made-in-India alternative version of raspberry pi. To know more about it head on to the official BrainyPi website.

What is ROS?
The Robot Operating System (ROS) is an open-source framework that helps researchers and developers build and reuse code between robotics applications. ROS is also a global open-source community of engineers, developers and hobbyists who contribute to making robots better, more accessible and available to everyone.

ROS Logo
Installing ROS on BrainyPi
Now to answer the big question: ‘Is BrainyPi even compatible with ROS?’ The answer to this question is yes and its installation is as easy as installing ROS on any other device. Let’s start with the very first step.
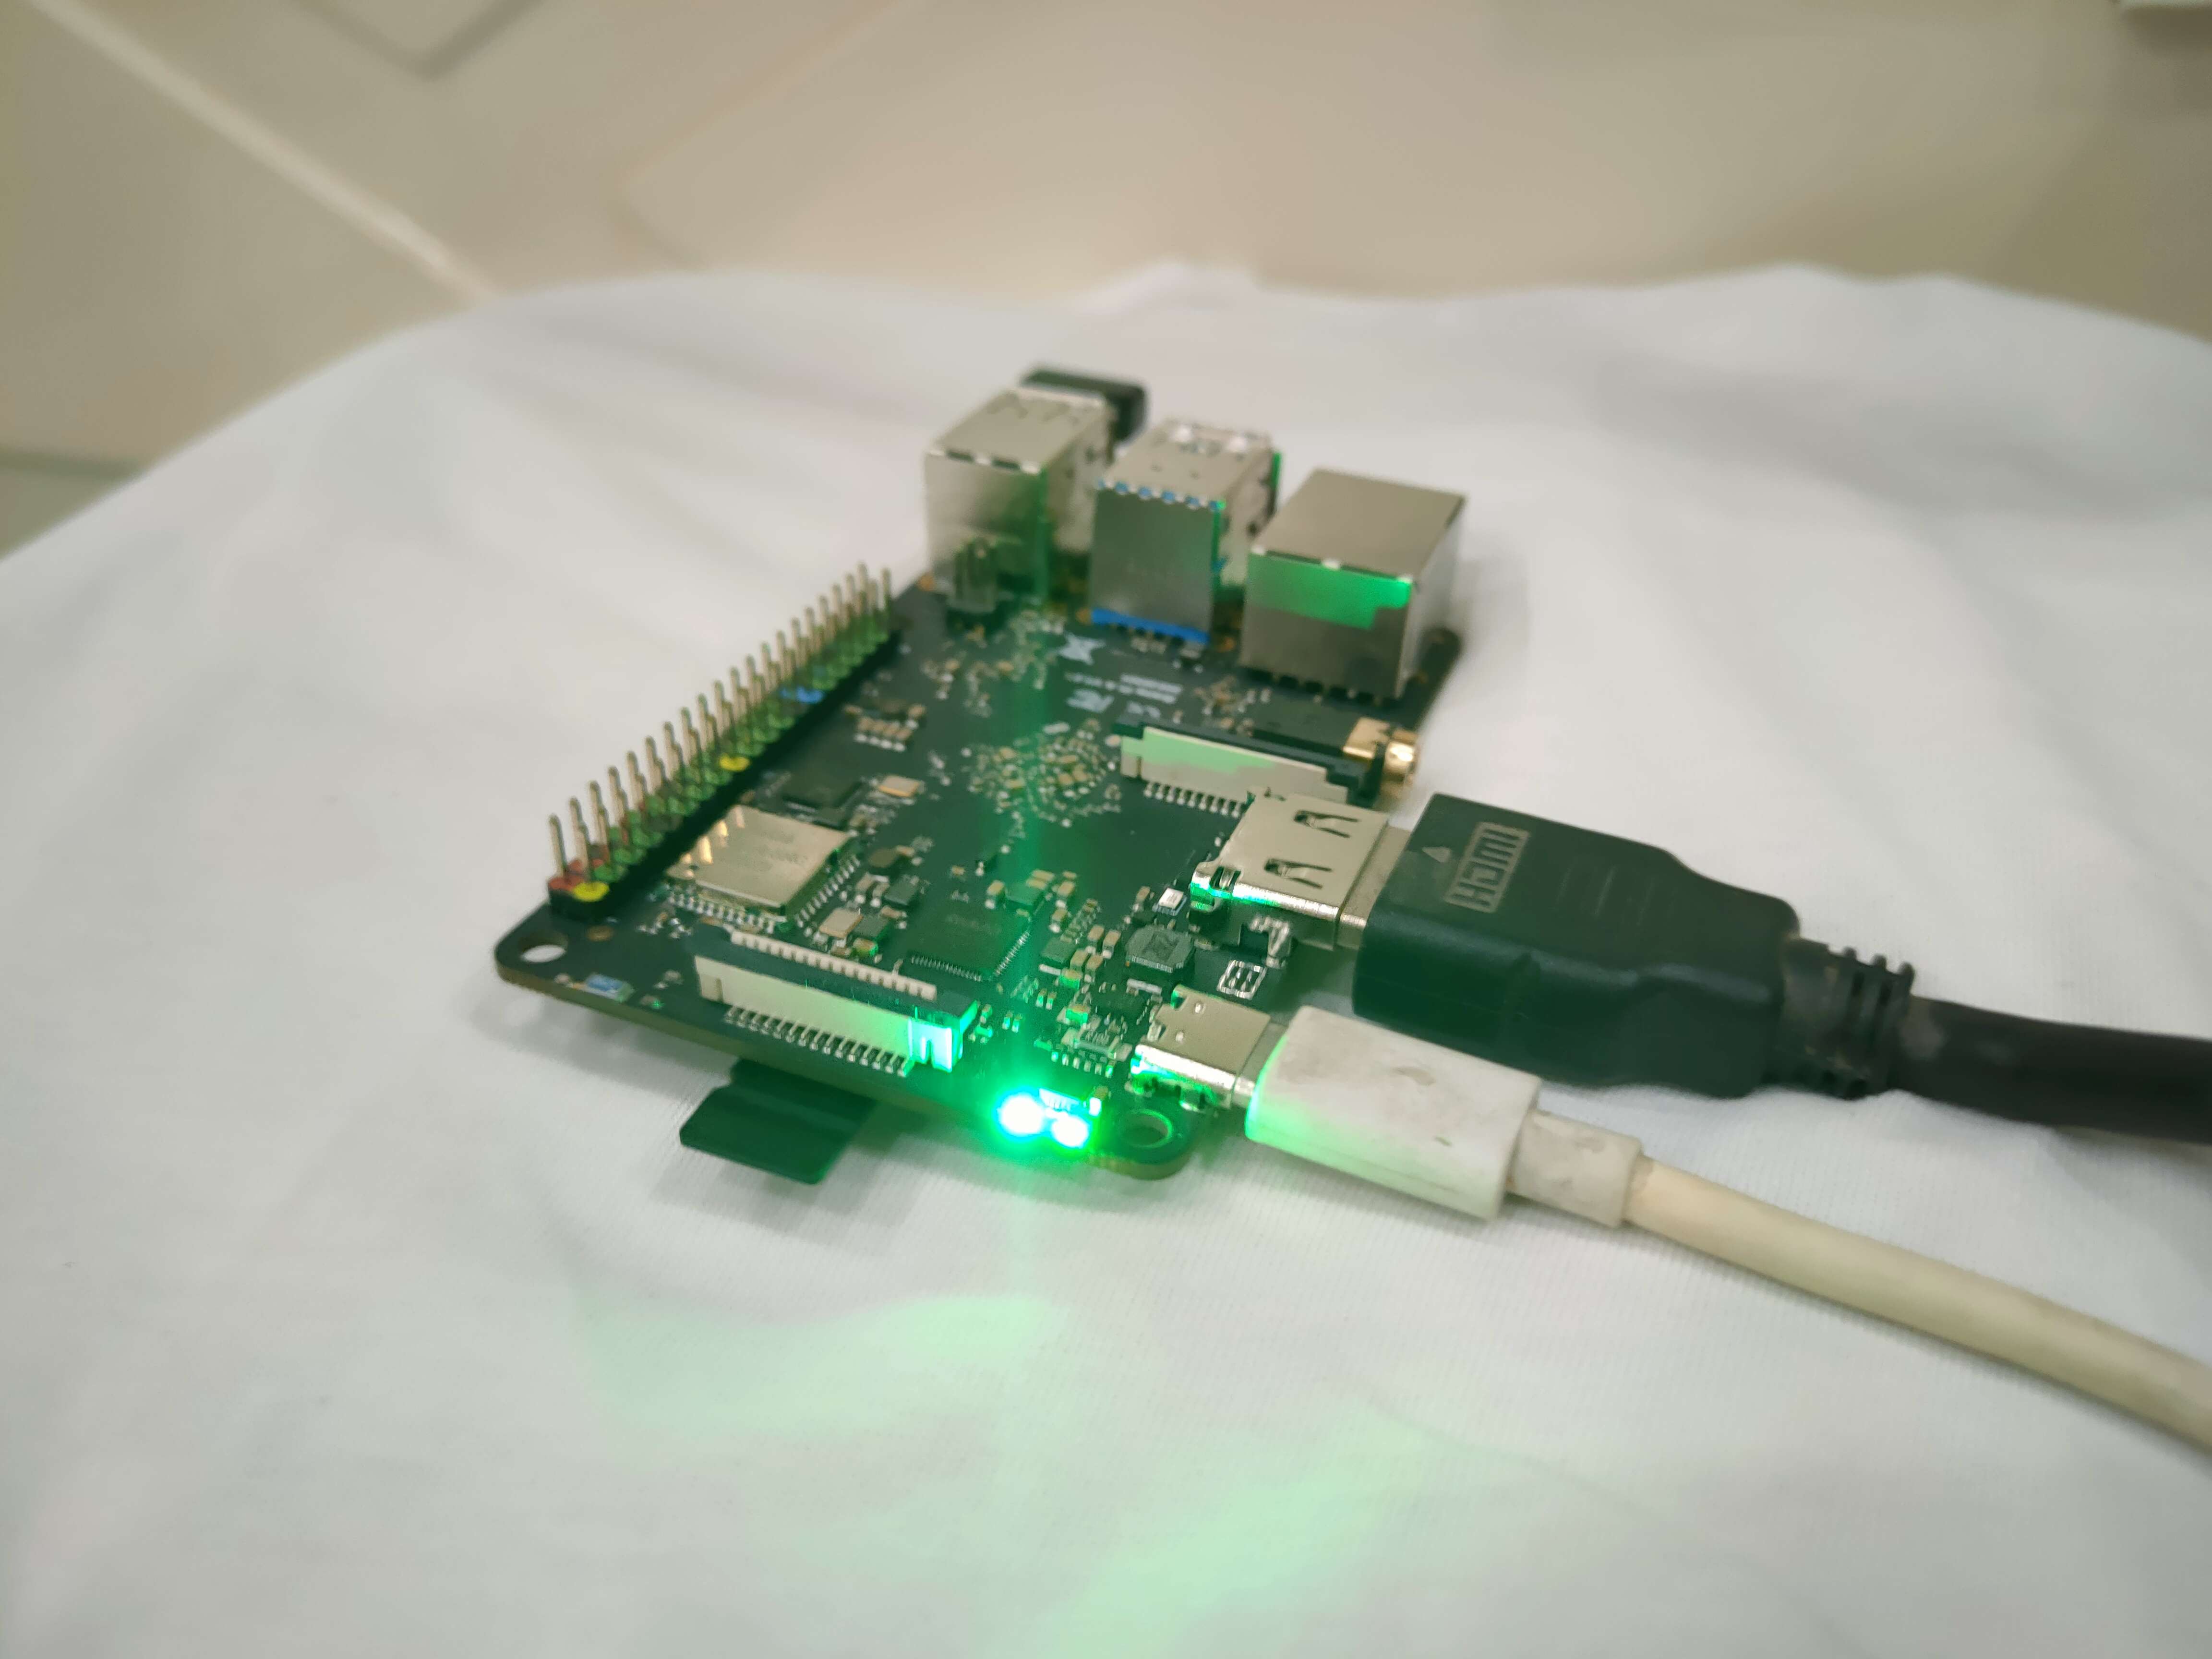
Flashing BrainyPi with Ubuntu
To install ROS on your BrainyPi you would first need to flash an image of Ubuntu in it. To flash the image first plug in your mouse and keyboard to the BrainyPi and connect the HDMI cable to a screen and power it on using a USB type-C cable. By default the BrainyPi will boot into the recovery OS for the first time where you can select the OS you want to install(Ubuntu is not set as one of the default OS for BrainyPi but do not worry).
To add Ubuntu to the download options follow these steps
Configure brainypi-recovery to install Ubuntu
We need to create a file at location /boot/settings/os-sources.list and change the source variable in the file to Ubuntu.
| |
Now the brainypi-recovery is configured and it will install Ubuntu 18.04.
Enable Console on the Monitor, Ubuntu 18.04 does not have a GUI, so console needs to be enabled manually.
| |
Now reboot to the Recovery OS.
Now you should be able to install Ubuntu 18.04 on BrainyPi.
Since we are using Ubuntu 18.04, we have to use the ROS version compatible with it, that is ROS melodic.(you can use any Ubuntu version you like, just make sure to use the version of ROS compatible with it)

SSH into BrainyPi
Finally, Let’s Install ROS 🎉
The steps to install ROS from now on are the same as on any other device. So, you can choose to follow the main documentation on ROS wiki as well. But here’s gist of the process anyways.
1. Setup your sources.list
Add packages.ros.org to apt’s sources.list so it can fetch ROS packages.
sudo sh -c 'echo "deb http://packages.ros.org/ros/Ubuntu $(lsb_release -sc) main" > /etc/apt/sources.list.d/ros-latest.list'
2. Add keys to apt using curl
sudo apt install curl
curl -s https://raw.githubusercontent.com/ros/rosdistro/master/ros.asc | sudo apt-key add -
3. Update your package index & Install ROS
Now you need to update your package index so that apt can find the ROS packages from the newly added packages.ros.org source.
sudo apt update
After updating the package index we can see that apt has fetched packages from the previously added URL. We can now move on to install ROS. We’ll be installing the
sudo apt install ros-melodic-ros-base
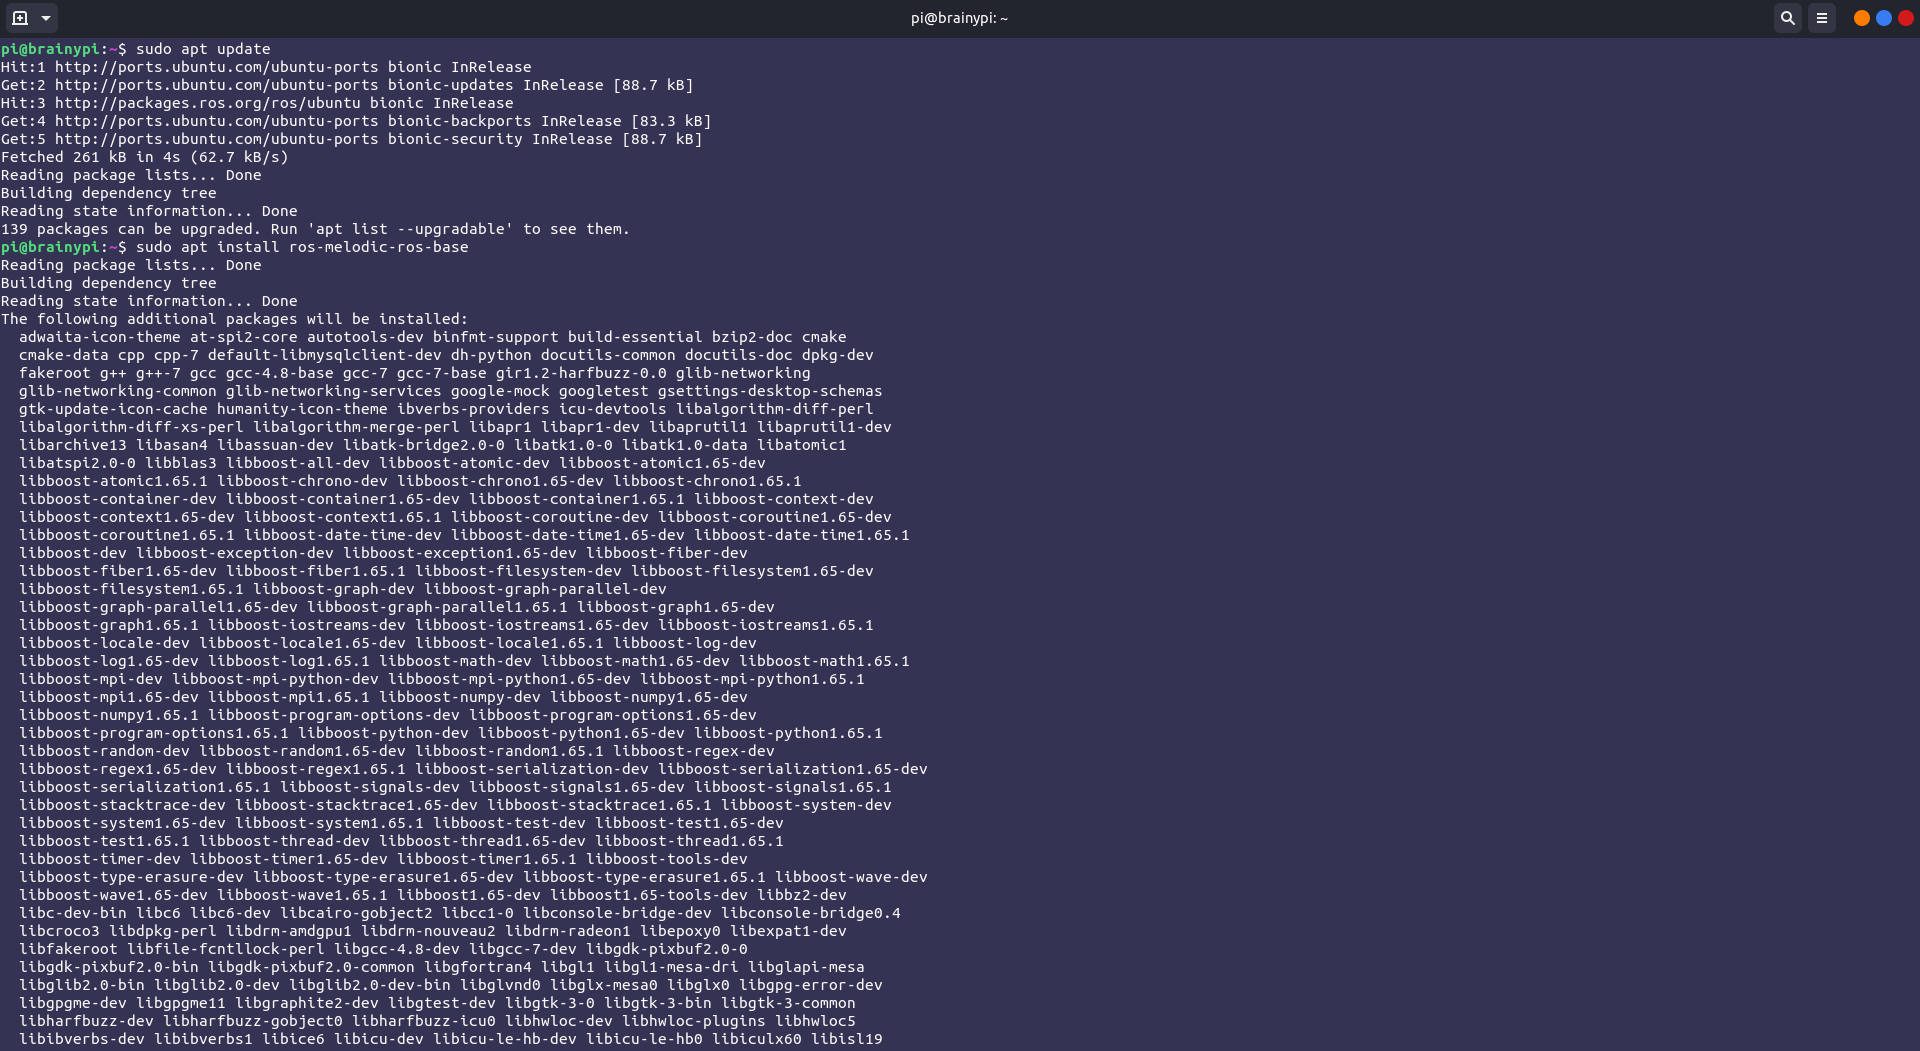
Installing ROS Melodic
Using ROS Commands in the Terminal
Now that you have installed ROS, you need to configure your terminal in order to use ROS commands.
To do that, we need source ROS’s setup.bash file in our terminal. It adds and updates many environment variables which allow us to use ROS commands.
echo "source /opt/ros/melodic/setup.bash" >> ~/.bashrc
source ~/.bashrc

Sourcing the .bashrc
Now you should be able to launch the ROS Master in your terminal using the following command:
roscore
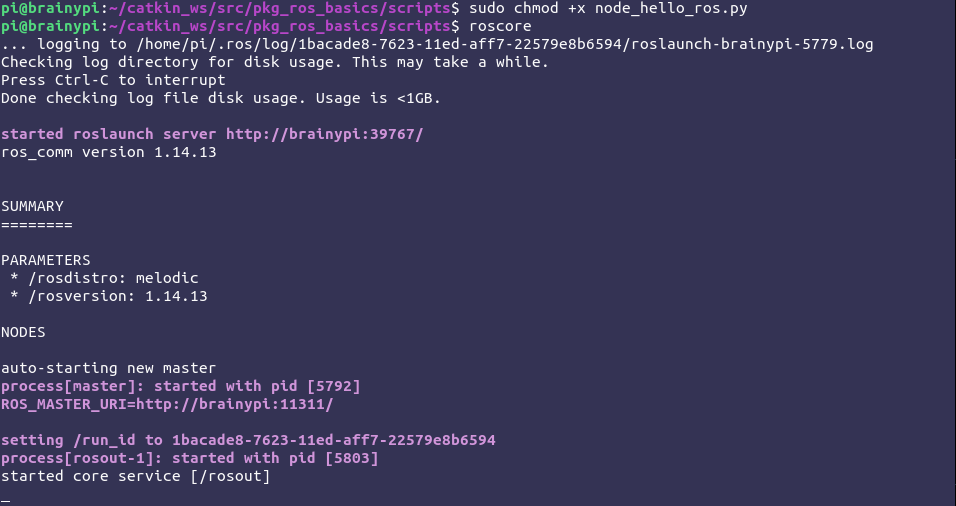
Running the ROS Master using the roscore command
Now that we have made sure that we can run the ROS Master from our terminal, it is time that we start doing something with ROS. Below, we discuss some basic steps on how to create a ROS package and a ROS node using python. If you want to understand more deeply about the concepts of ROS you can head over to our wiki.
Creating a ROS Workspace
Having a workspace directory for ROS is important because it allows for better distribution of packages, better cross compilation, better portability, plus all your work is stored under a single directory.
Create the root workspace directory. You can name your directory anything but by ROS convention we will use catkin_ws as the name
cd ~/
mkdir -p ~/catkin_ws/src/
Initialise the workspace:
cd catkin_ws
catkin init
Build the workspace:
catkin_make
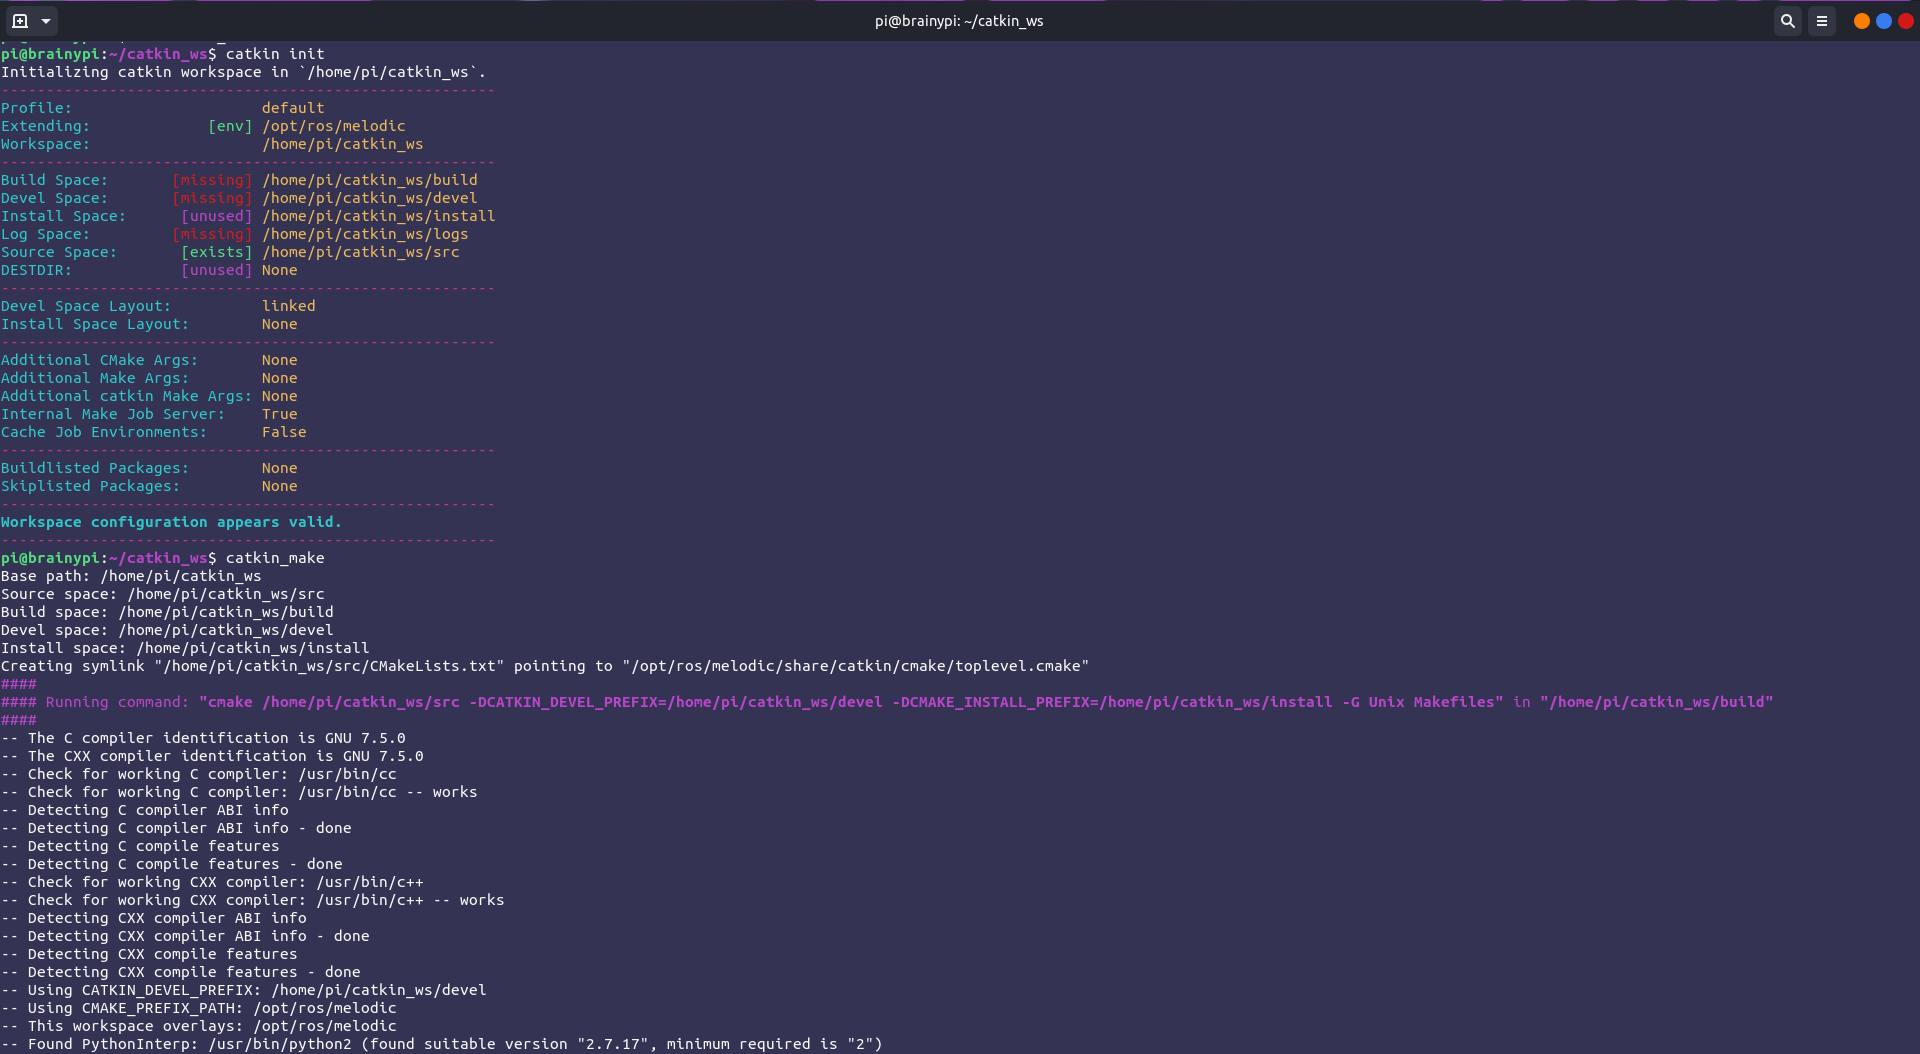
Initializing the workspace and building the dependencies
Now to make you custom packages in your catkin_ws detectable through your terminal, you have to source your workspace:
source ~/catkin_ws/devel/setup.bash
The setup.bash needs to be sourced everytime. So to avoid that we will simply add this command to your bashrc
sudo nano ~/.bashrc
source ~/catkin_ws/devel/setup.bash
Make sure to add this line at the end of your .bashrc file.
Now simply save(ctrl+o) and exit(ctrl+x)
Note: If you have sourced the
setup.bashfile of your workspace in your.bashrc, you don’t need to source the default ROSsetup.bashlike we did earlier. Your workspace’ssetup.bashwill do it for you.
Now that your workspace has been successfully created, you can create packages, nodes etc according to your use.
Creating a ROS Package
Software in ROS is organized in packages. A package generally contains ROS nodes. The goal of these packages it to provide functionality in an easy-to-consume manner with software that can be easily reused.
To create a ROS package you first need to navigate to the src directory of your catkin workspace:
cd ~/catkin_ws/src
Now, use the catkin_create_pkg script to create a new package called pkg_ros_basics which depends on std_msgs, roscpp, and rospy:
catkin_create_pkg pkg_ros_basics std_msgs rospy roscpp
Now, you need to build the packages in the catkin workspace
cd ~/catkin_ws
catkin_make
Creating a package called pgk_ros_basics
Creating & Runing a ROS Node
In this section we will learn how to create a ROS Node using Python inside our ROS package.
Navigate to pkg_ros_basics:
cd ~/catkin_ws/src/pkg_ros_basics
Create a scripts folder for your Python scripts & navigate into the folder:
mkdir scripts
cd scripts
Create a Python script called node_hello_ros.py:
touch node_hello_ros.py
Open the script in any text editor.
vim node_hello_ros.py
Now write a ROS Node to print Hello World! on the console.
| |
Save the script and exit.
Make your node executable
sudo chmod +x node_hello_ros.py
Now to run your node, open the terminal and start the ROS Master:
roscore
Once the roscore is running open a new terminal and run the node using:
rosrun pkg_ros_basics node_hello_ros.py
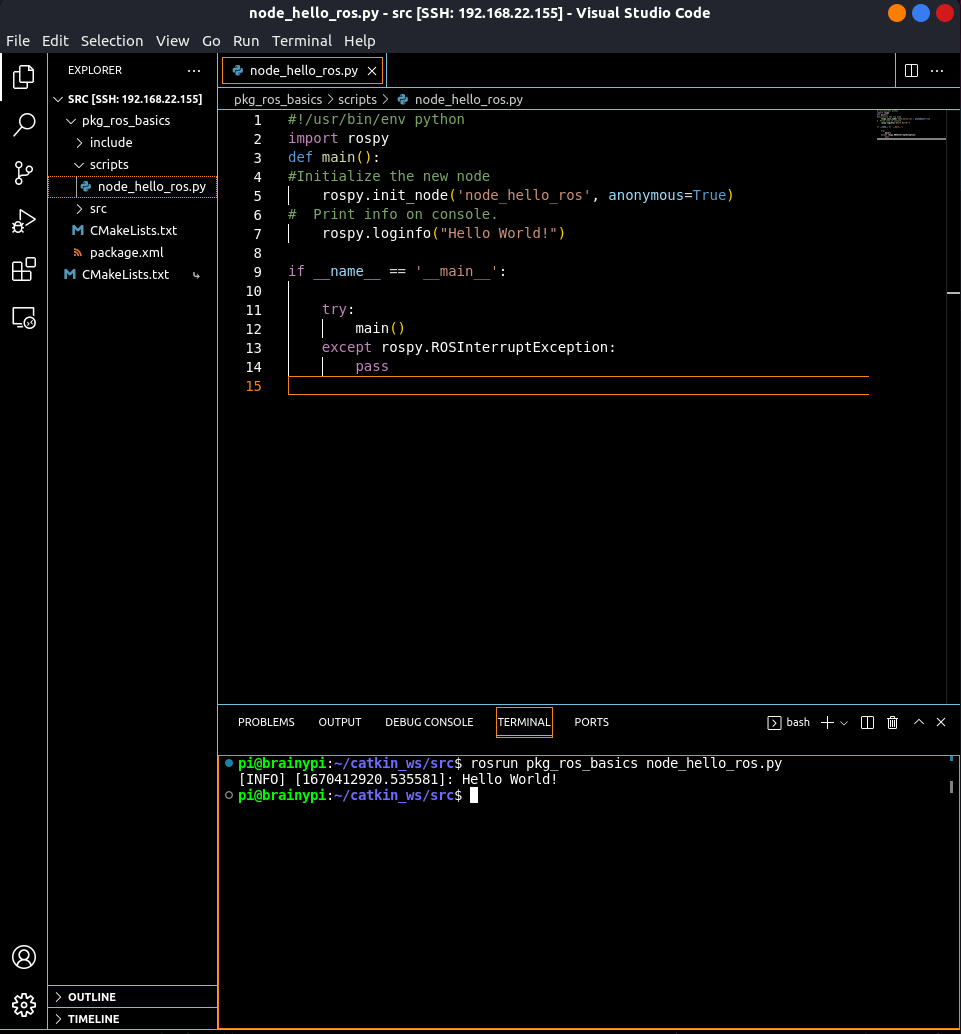
Running the test script using VS Code
Note: This command will work only if you have sourced
setup.bashof your catkin workspace either manually or using.bashrc.